I hope you all had a happy thanksgiving!
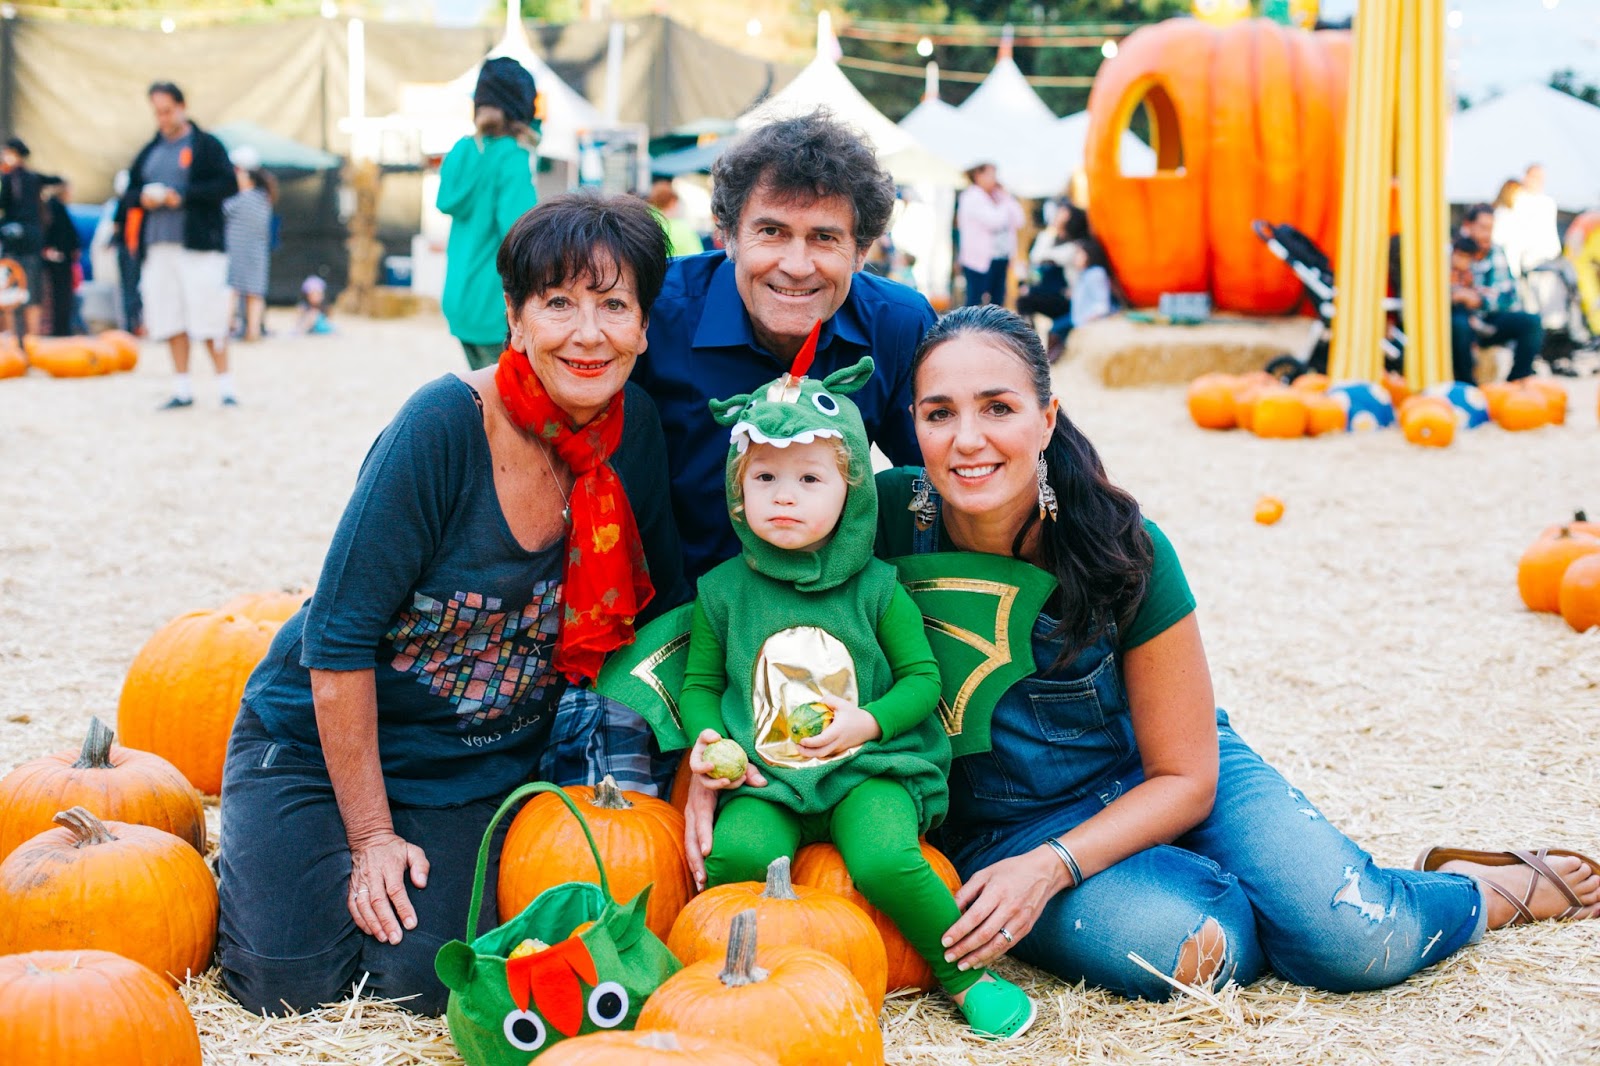
Like every year we spent thanksgiving with our family,
in Santa Barbara.
in Santa Barbara.
We drove up from Los Angeles listening to Christmas songs, looking forward to seeing our loved ones
and eating a delicious thanksgiving dinner.
and eating a delicious thanksgiving dinner.
My mum-in-law cooked a delicious turkey with all the trimmings,
 |
| Look how golden brown this turkey is! |
my father-in-law made a very nice side dish of brussel sprouts with apples, pears and spices; my sister-in-law made a tasty green bean casserole, grandma made her famous bread rolls
and my little sister-in law a yummy apple pie.
and my little sister-in law a yummy apple pie.
I myself baked a pumpkin cheesecake, which I must say,
was quite scrumptious!
The recipe is from one of my Williams- Sonoma cookbooks
and you may also find it HERE .
 |
| Here is my little sister-in-law's delicious apple pie, with a side of pink whipped cream! She mistakingly, or so she says, put a drop of red food coloring in it (wink). |
When we arrived, my sister-in-law had laid the table beautifully.
We returned to Los Angeles this evening.
It really has been a lovely thanksgiving weekend.
We went kayaking in the harbor, to the movies, visited an old friend, went on walks and did a lot of relaxing.
No Black Friday shopping for us!
•••
Last week I tried Melt & Pour soap making for the first time and it was a lot of fun!
There are two ways of making soap:
Melt & Pour soap making
and
Cold Process soap making
The difference between the two is the following:
Melt & Pour (M&P or MP) soap making utilizes
a pre-made soap base that is ready to use.
M&P is a short cut in making soap, as you simply purchase the base, melt it and add things to it.
You can then transform that plain bar of soap base into something amazing!
It is a fun project for children, though under adult supervision, since the molten soap can get very hot
(as hot as 160 degrees F/71 degrees C)
and you need to cut up the soap base with a knife, before melting.
It is the easiest and safest of all soap making arts.
Cold Process (CP) soap is made by mixing lye and oil and the resulting chemical reaction, called saponification, is soap.
(With M&P soap base, the saponification has already been done for you)
Frankly, I did not want to handle lye with a little one around.
Maybe in the future I will give it a try.
You can be very creative with M&P soap bases, by using additives like
- Exfoliators (oatmeal, ground apricot seeds, turbinado sugar...)
- Essential oils (to scent your soap)
- Vegetable butters and oils (shea butter, sweet almond oil...)
- Colorants (which can be natural)
- Clays
- Milk powders
Craft stores are the easiest places to find
Melt & Pour soap bases.
I wanted my soap to be as natural as possible,
so I ordered organic M&P soap base on the internet HERE
They are no expensive or hard-to-find tools needed for M&P soap making, but do remember that once you use the items to make soap, they should not be used for cooking nor baking, as they will retain bits of soap or fragrance that can be transferred to food.
I found a great soap making recipe book HERE
The Simply Lavender soap
TOOLS:
- Double boiler with lid
- Candy thermometer
- Glass measuring jar (4cups)
- Large knife
- Plastic cutting board
- Measuring spoons
- Metal whisk
- Silicon muffin pan
- Rubber spatula
- Spray bottle filed with rubbing alcohol
MATERIALS:
- 1 teaspoon (5ml) of organic lavender essential oil
- 2 teaspoons (10ml) of organic dried lavender flowers
- 1lb. (454 g) of organic glycerin Melt & Pour soap base
DIRECTIONS:
Prior to beginning, make sure your work area and tools
are clean and dry.
Lay out the materials and tools, measure additives
and prepare molds.
Once the soap is melted, you will need to work quickly!
Using the large knife, cut the soap base into cubes.
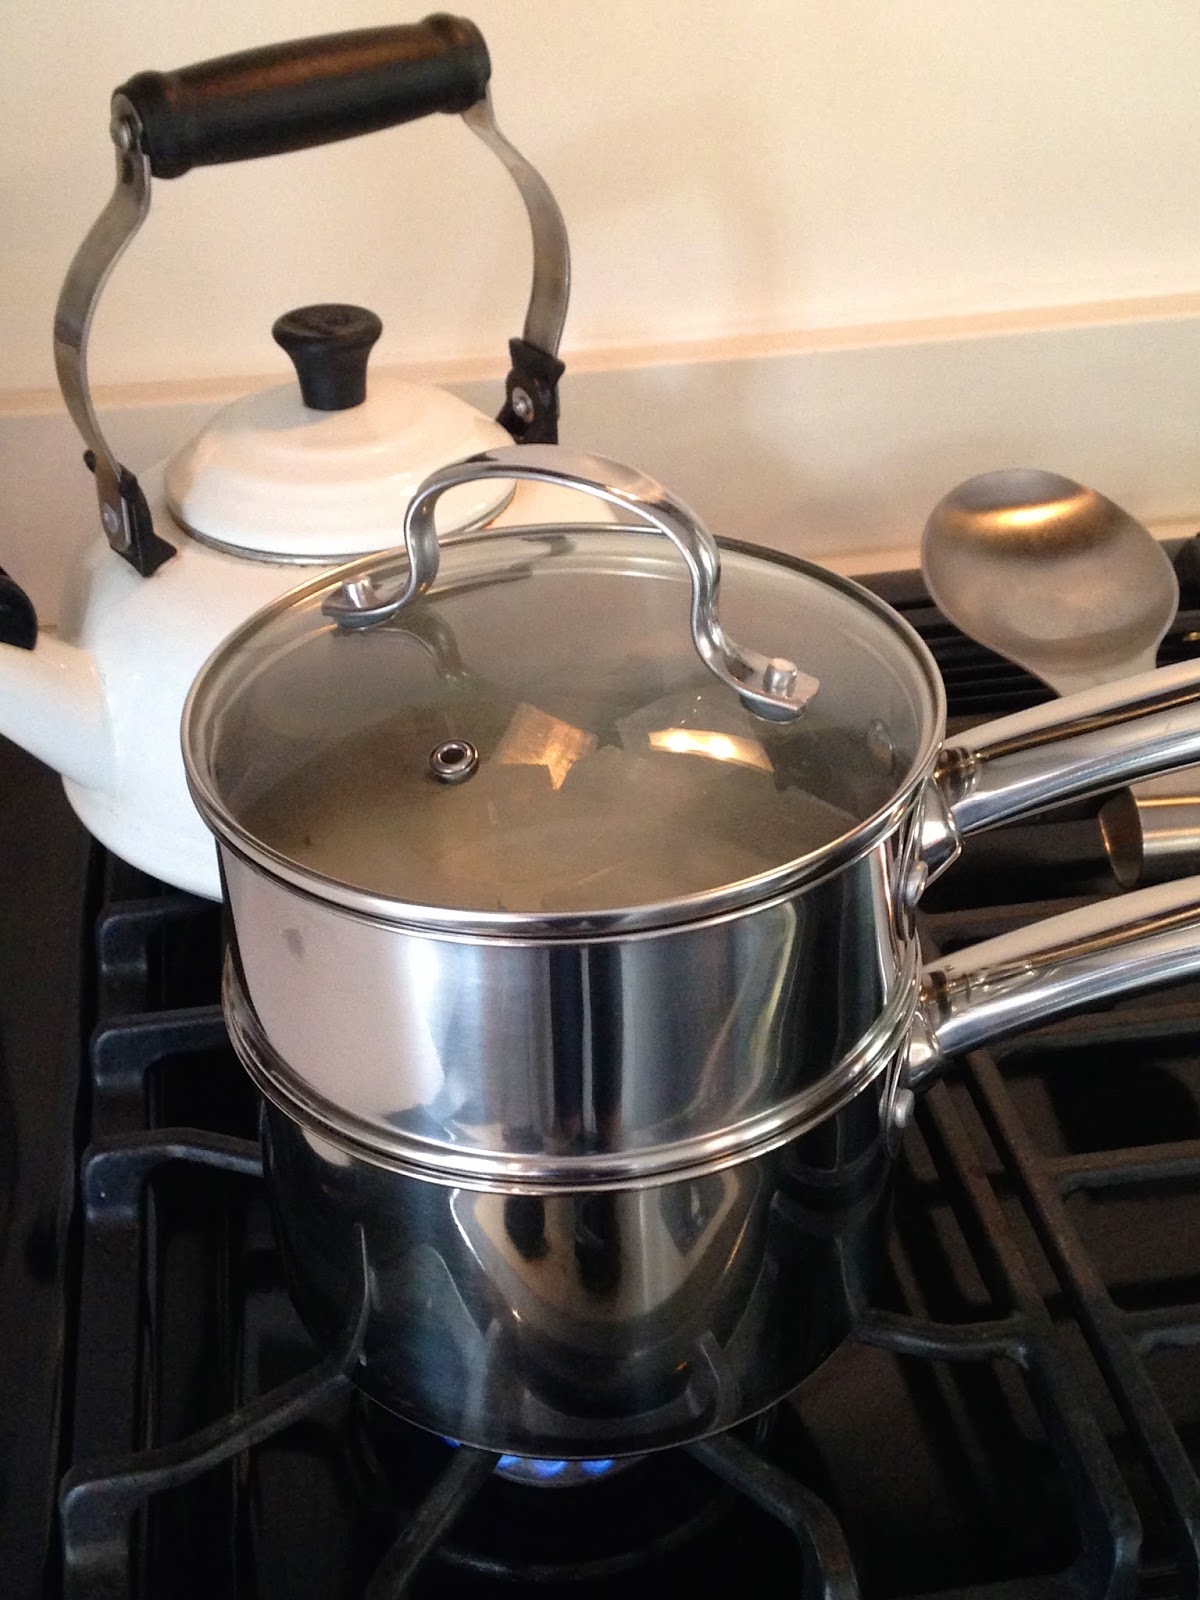
Melt the soap in the double boiler, covering it with the lid.
 |
| Do not allow the soap to get hotter than 160 degrees F (71 degrees C). According to my book, allowing it to get too hot will harden the soap and cause it to smell bad |
Once the soap is melted, remove the double boiler from the heat. Add the dried lavender flowers,
stirring gently to incorporate.
Transfer the soap into the glass measuring jug, using the rubber spatula.
Stir in the essential oil.
Pour the soap into molds.
Spray the surface of the soap with rubbing alcohol, to eliminate any bubbles.
Allow the soap to fully harden, then remove the soap from the molds.
And voilà!
 |
| Aren't they so pretty? |
 |
| Great little presents for friends and family! |
 |
| Like precious stones... |
 |
| and they smell so wonderful! |
I cannot wait to make more!
Thanks for stopping by,
Alexandra


